Measure the inside of a wardrobe before adding organisers
The useful space ends at hinges, runners and door clearances, not at the outside of the furniture.
Measure with the doors open
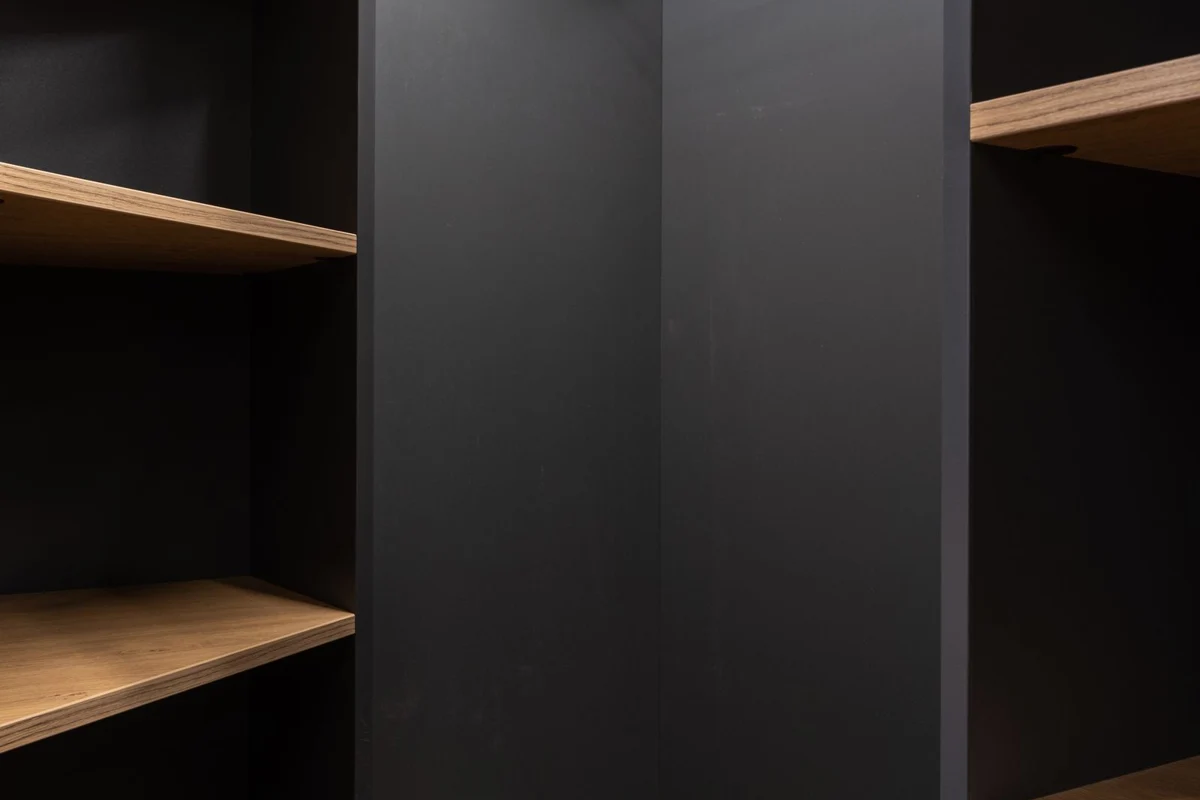
The external depth of a wardrobe includes parts you cannot use for storage. Measure inside from the back to the point where the closed door needs clearance. Notice hinges, projecting handles, rails and any shelf supports. A box that fits between two side panels may still catch on a hinge when pulled out.
Take measurements at the actual shelf you want to organise. Do not assume every level is identical. A fitted wardrobe may have a pipe boxing or a change in depth, while adjustable shelves can sit at different heights. Record each location separately if the differences matter.
Add the movement
A container has to enter, leave and open. Leave room for fingers at the handle and for lifting a lid. A box that fills the entire shelf width can be hard to remove even when its dimensions technically fit. If two boxes sit side by side, include enough clearance for each to move independently.
Think about the door's opening angle. A drawer insert or pull-out basket may need more room than a hinged door provides when a bed stands nearby. Measure in the room's normal arrangement, not with furniture temporarily moved to create an ideal opening.
If a shelf is deep, two rows can hide the back one. That may be acceptable for occasional items but inconvenient for daily clothes. A shallow front basket with a clearly labelled seasonal box behind it is a different system from two identical unlabelled rows. Decide what should be reachable without rearranging the shelf.
Start with the contents
Fold a representative stack of clothing the way you already do and measure it. An organiser designed for smaller folds may demand more effort than you want to repeat. It is easier to choose a basket around a comfortable routine than to refold every garment to suit a product photograph.
Separate hanging space from shelf space. Adding a hanging organiser consumes rail width and can put weight on a component that has its own limit. Check the wardrobe and organiser instructions. Do not add several heavy hanging units simply because empty fabric shelves look light.
Bulky bags, delicate fabrics and frequently worn shirts have different access needs. Avoid making every compartment identical. A wide open shelf may be the right place for an awkward bag, while a small divider helps with socks. Empty space around a fragile item can be useful rather than wasteful.
Make a temporary layout
Use existing clean boxes or paper outlines to trial the proposed widths. Put the normal contents back and live with the arrangement for several days. Notice whether something is repeatedly left on a chair because its new home takes too many steps to reach.
Labels should face the direction from which you look. A top label is ineffective on a high shelf, while a front label can disappear behind the door frame. Use words that distinguish the contents without requiring a complete inventory, such as spare pillowcases rather than miscellaneous.
Keep weight and access in view
Follow shelf load limits and the furniture's anchoring requirements. Place heavy items where they can be handled safely; do not create a high stack that must be dragged towards your face. If reaching a shelf needs a step stool, leave room to position a suitable one rather than standing on a chair.
Leave room for the wardrobe to work as intended, including ventilation gaps described by the maker. An organiser is not a remedy for dampness or a structural problem. Address leaks or persistent moisture before enclosing clothes in more containers.
Save the final internal measurements and a photo of the arrangement. When replacing a basket later, that record is more reliable than remembering the wardrobe's model name or its advertised external width.